Gary Breaux's Vintage Philco Radios

Bakelite Block Capacitors
Home
IT Reuse
History/Background
The Workbench
Current Restoration - Analysis
Current Restoration - Disassembly
Current Restoration - Progress
Help!
Gallery of Cathedrals
Gallery of Favorites
Identifying Your Philco
Bakelite Block Capacitors
Capacitor Block Restoration
Help/Parts/Supplies
For Sale
Techical References
Vintage Ads
World War II
Awards and Associations
Other Leisures and Interests
Contact Me

Replacing Bakelite block capacitors is the most frequent inquiry from my kind visitors.

Just a bit of fun ;-)

Bakelite, "The material of a thousand uses," as it was called, made a splash in the 1920s, '30s and '40s. Bakelite combined carbolic acid and formaldehyde to produce a versatile substance such as phenolic 
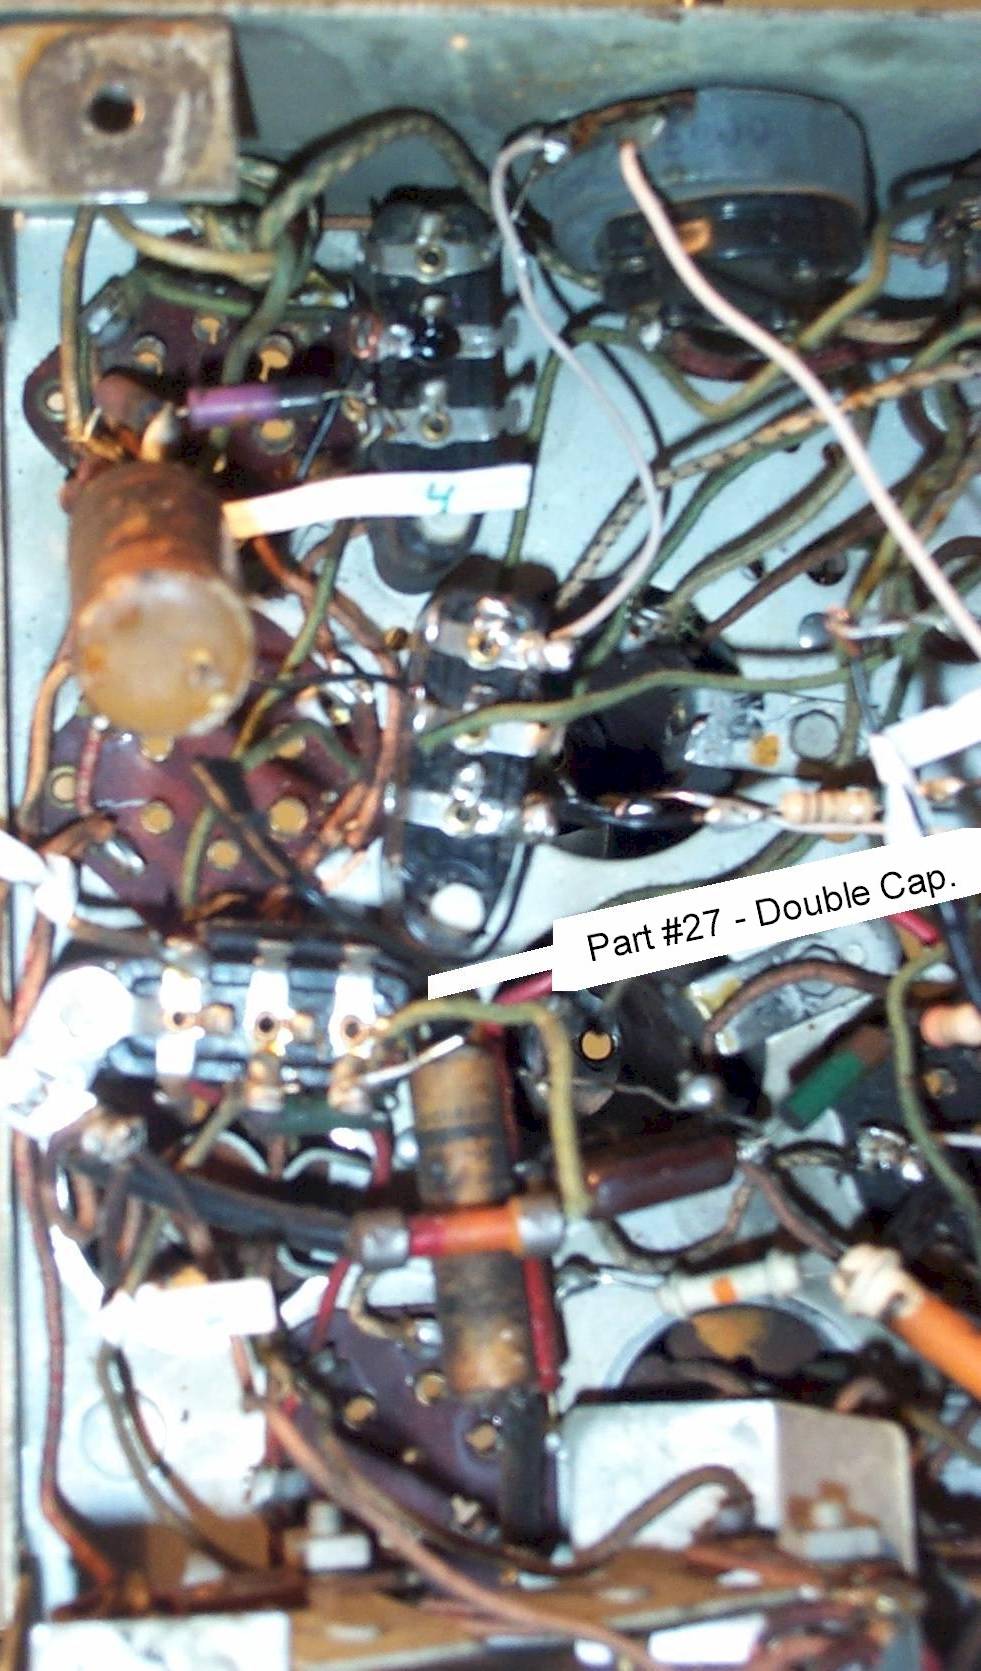
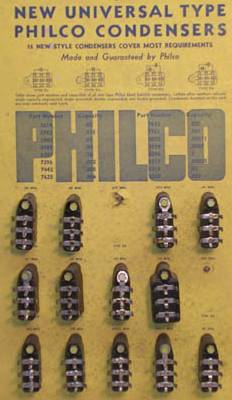
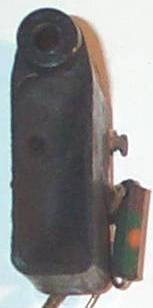
resin or "Bakelite," a revolutionary, non-flammable, early plastic. Philco utilized the Bakelite block condensers (in the vintage vernacular) throughout the 1930s. It is a feature unique to Philco.

You can reference other sites that deal with the subject (RELATED LINKS). I thought, as a newbie to the hobby I would provide my perspective.

Early 1930s'

(1)

DO NOT START WITHOUT SPECS. such as this reference by Ray Bintliffs, Philco Condensers and More 2nd Edition, available through Antique Electronic Supply.

Circuit Configuration

KNOW the capacitor's wiring configuration and DO NOT rely on reverse engineering as you disassemble. It will become confusing. Also, the capacitor may have a resistor embedded within. Check the references. No reference? Contact Me
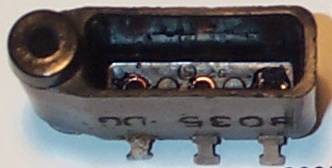
Chuck Schwark's "Philco Repair Bench" is an excellent reference for this and most things Philco at, http://www.philcorepairbench.com/capbuild.htm

(3)

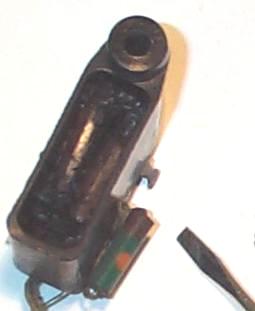
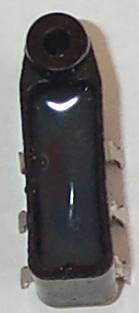
The underside of this cap has not been seen in 70+ years. The caps are sealed in a hard wax/tar mixture with the approximate hardness of ice.
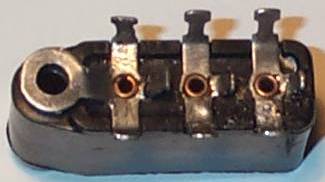
Bakelite Capacitor - Original Stuffing

(5)

Cleaned out and ready to re-stuff and seal. Again, picking out the tar is the cleanest method. The material flecks out in chunks. (Note the sheen on the inside of the cap.)

Bakelite Capacitor

(6)

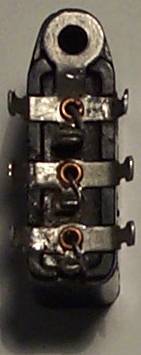
Old connections are de-soldered, wire brushed, and ready for new caps installation, sealing, and re-installation into the circuit.

Bakelite Capacitor

(8)

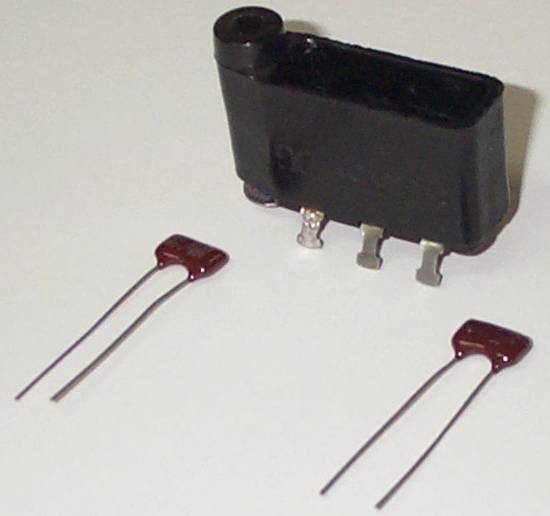
The new caps inserted into the Bakelite shell,
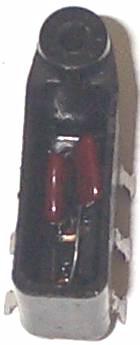
New caps. installed

(10)

connections soldered in,

news caps. soldered-in

Question One,

"How can I tell if a Bakelite capacaitor is bad".

Answer, Do not bother checking, assume it is bad if you are even semi-serious about the restoration.

Question Two,

"Why not just wire a new capacitor in its place? Why bother hiding new capacitors inside the old component?"

Answer, That is fine as long as you simply want to REPAIR the set. RESTORATION is the reason for this effort.

(2)

This is OEM part number 27 on a 1935 Philco model 60 chassis. This Bakelite block capacitor is a double capacitor housing two .00011 microfarad caps.
First, label the connections. (I like garbage bag ties.)

Underside of Philco Model 60

(4)

With the filler partially removed the, in this case, two old caps become visible.

Bakelite Capacitor

The method I prefer to remove this mess is to CAREFULLY pick it out with a small screwdriver. Heating is a mess and leaves residue. Cooling the cap to make the sealing more brittle will do the same for the Bakelite. The picking-out method takes about five minutes yet should be done carefully. Bakelite, especially in a 2-inch component, is somewhat fragile.

(7)

New caps have arrived. 100 picofarad - 600 volt caps are used. As is often the case, the original values are no longer available.

Bakelite cap. with new caps.

Substitution is an area that may require some technical verification; please ask!
The Bakelite cap is ready for re-stuffing.

(9)

mechanical connections made,

New caps. wired-in

(11)

and the Bakelite shell is filled/sealed with hot glue.

New caps. sealed

The component is now ready for reinstallation into the circuit.
Cost: Approximately $3
Time: Approximately 2 hours
Results: Component RESTORED